THE LAB JOURNAL

Make the most
of your Tesla.

Ideas for your screen. Advice for a real vinyl project. Walkthroughs that help you take the next step.

One design. Two ways to enjoy it.

Try the look on your Tesla’s display, then bring the concept and original artwork to an installer.

Screen wraps & physical wraps
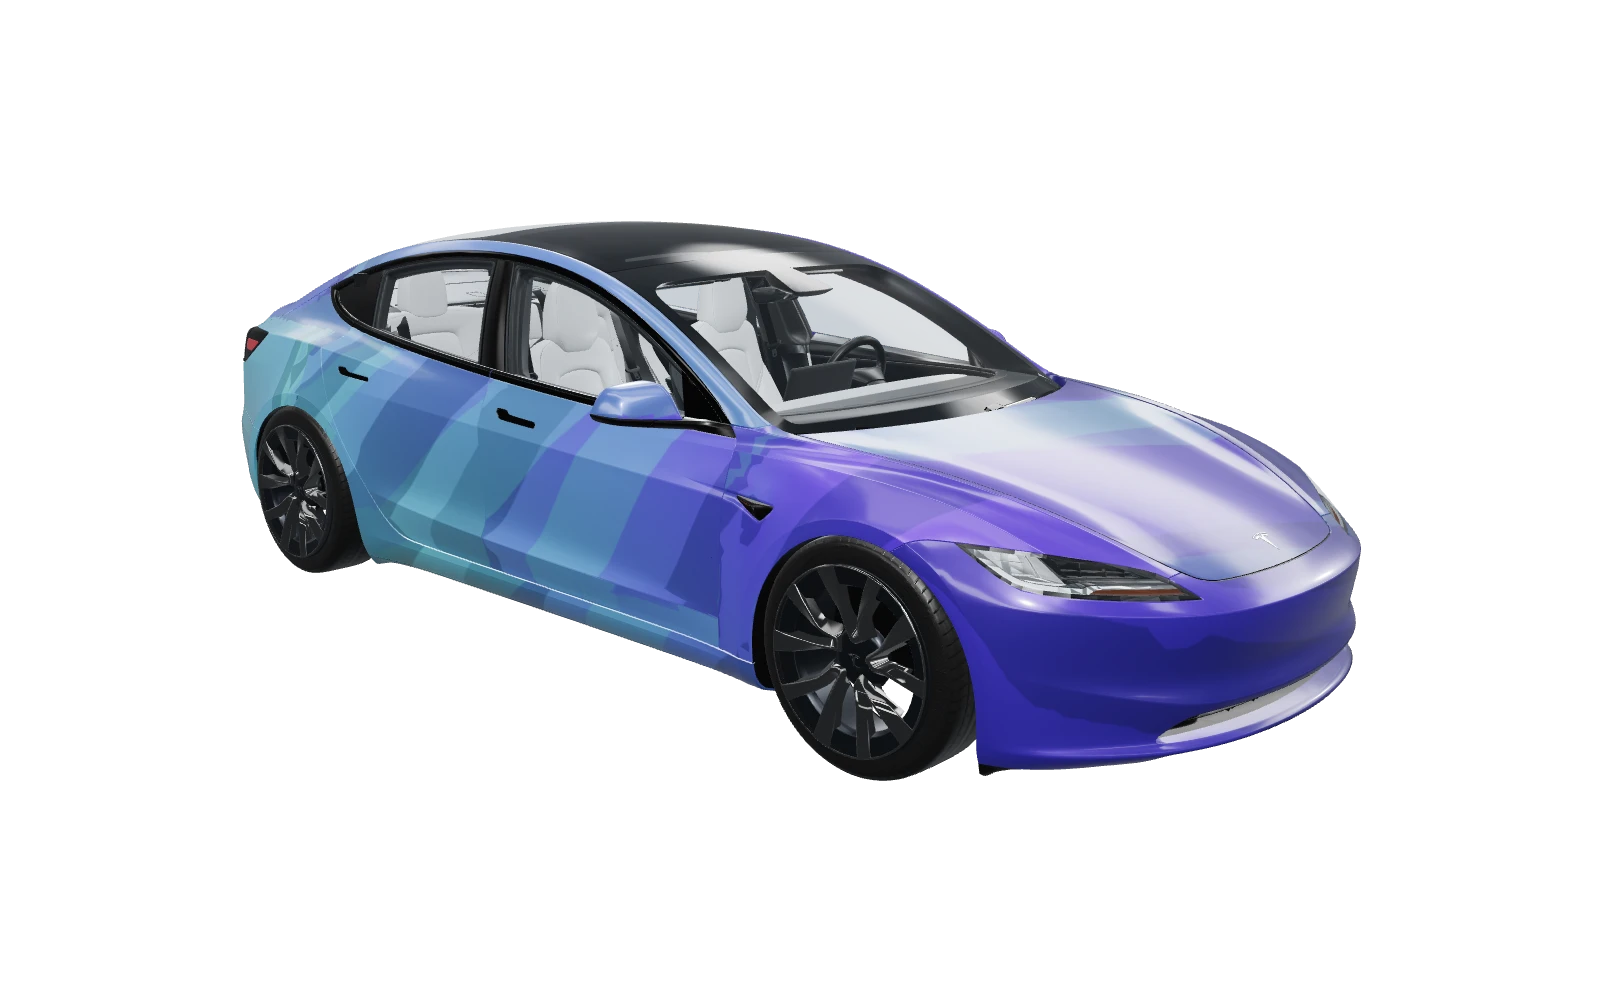
Model 3 with a custom digital wrap

13 articles

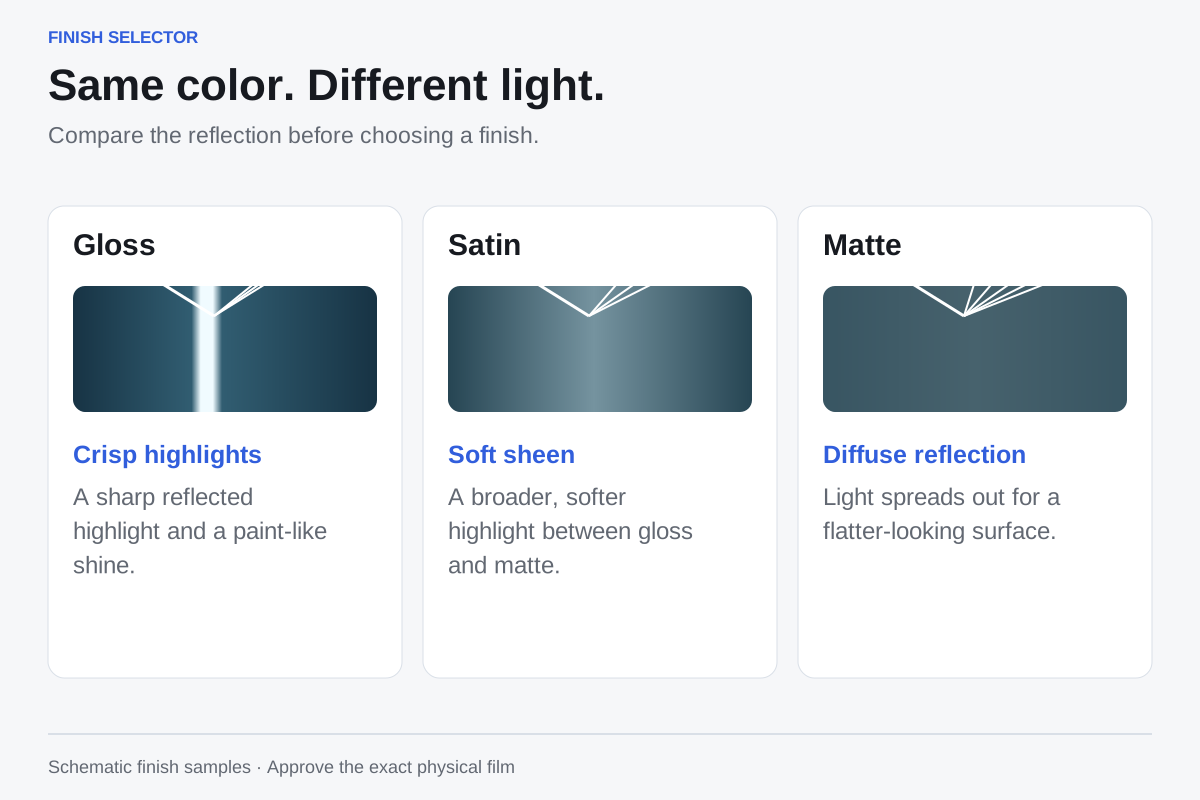
Same color. Different light.. Compare the reflection before choosing a finish. Gloss: A sharp reflected highlight and a paint-like shine. Satin: A broader, softer highlight between gloss and matte. Matte: Light spreads out for a flatter-looking surface.

Matte, gloss or satin: choose your finish

Compare the shine, texture and care routine before choosing real vinyl.
2 min read
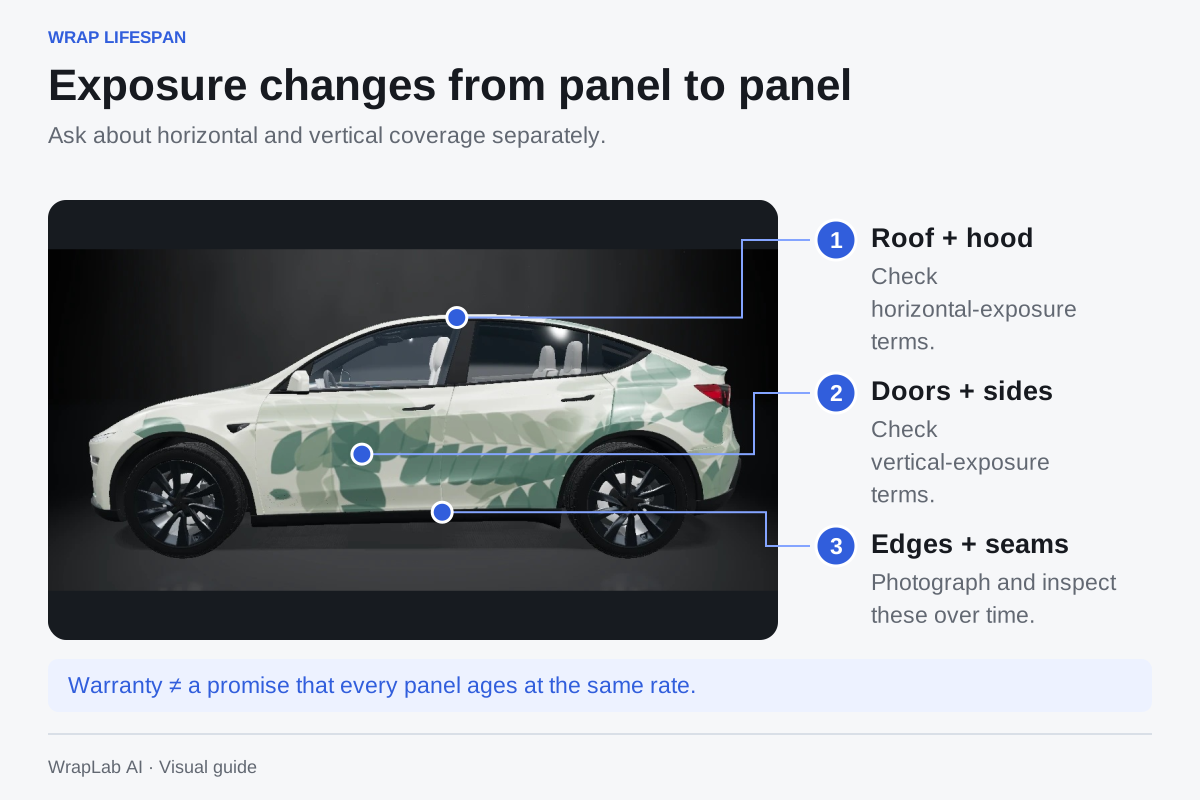
Exposure changes from panel to panel. Ask about horizontal and vertical coverage separately. 1. Roof + hood: Check horizontal-exposure terms. 2. Doors + sides: Check vertical-exposure terms. 3. Edges + seams: Photograph and inspect these over time.

How long will a vehicle wrap last?

The useful answer depends on the film, panel exposure, installation and how you look after it.
2 min read
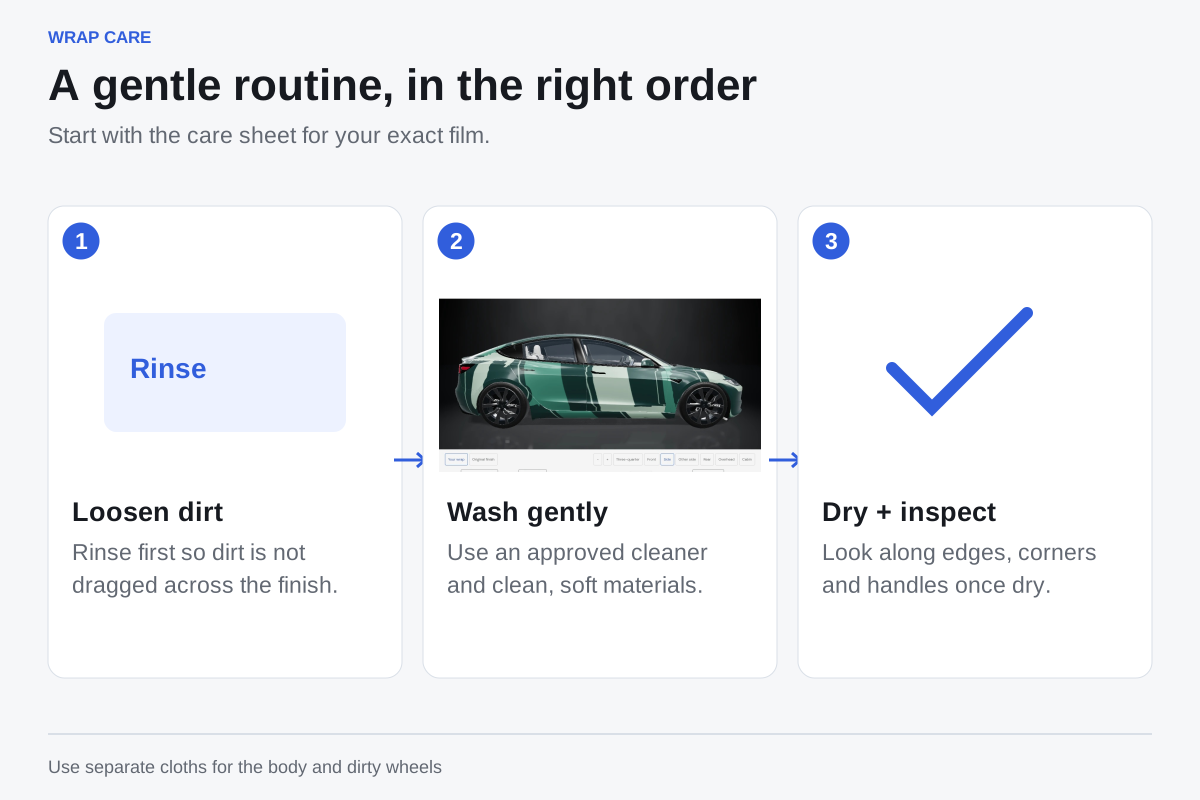
A gentle routine, in the right order. Start with the care sheet for your exact film. 1. Loosen dirt: Rinse first so dirt is not dragged across the finish. 2. Wash gently: Use an approved cleaner and clean, soft materials. 3. Dry + inspect: Look along edges, corners and handles once dry.

Wash and care for a wrapped vehicle

A gentle routine helps protect the film and its finish.
2 min read
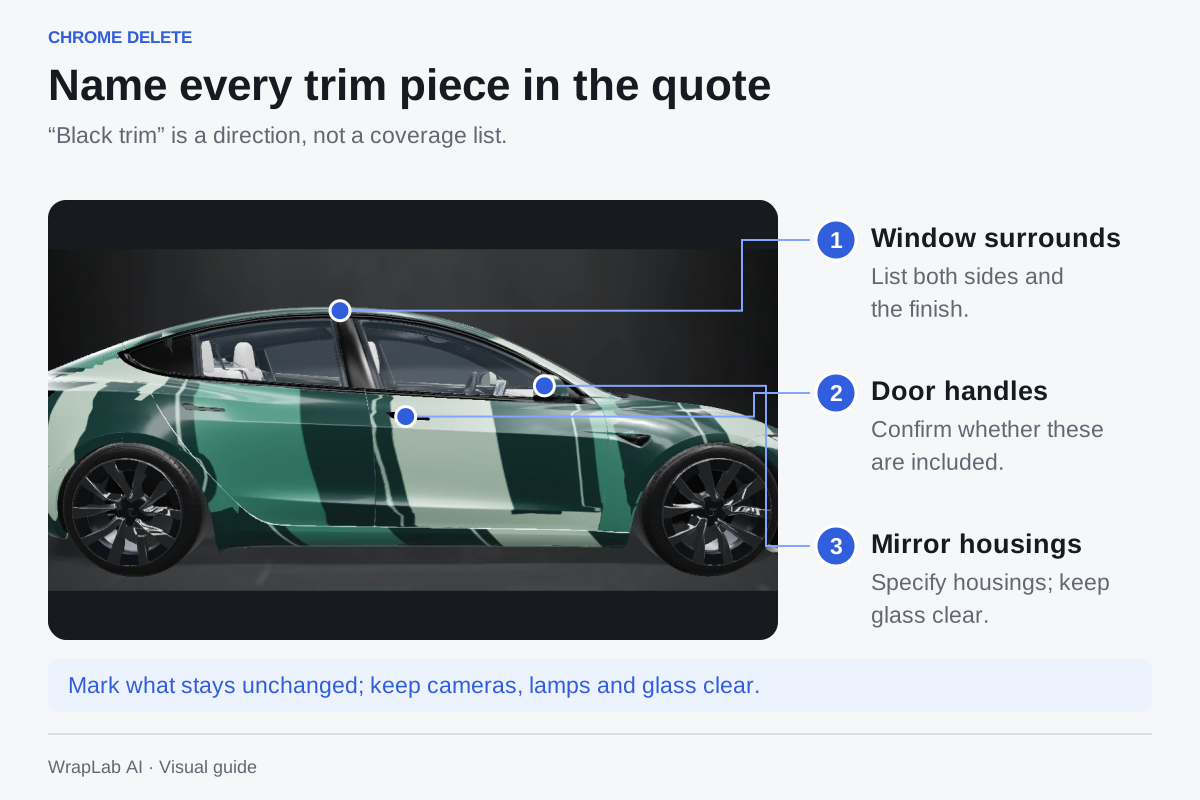
Name every trim piece in the quote. “Black trim” is a direction, not a coverage list. 1. Window surrounds: List both sides and the finish. 2. Door handles: Confirm whether these are included. 3. Mirror housings: Specify housings; keep glass clear.

Chrome delete: plan the details

A smaller trim project can change the character of your car without a full-body wrap.
2 min read
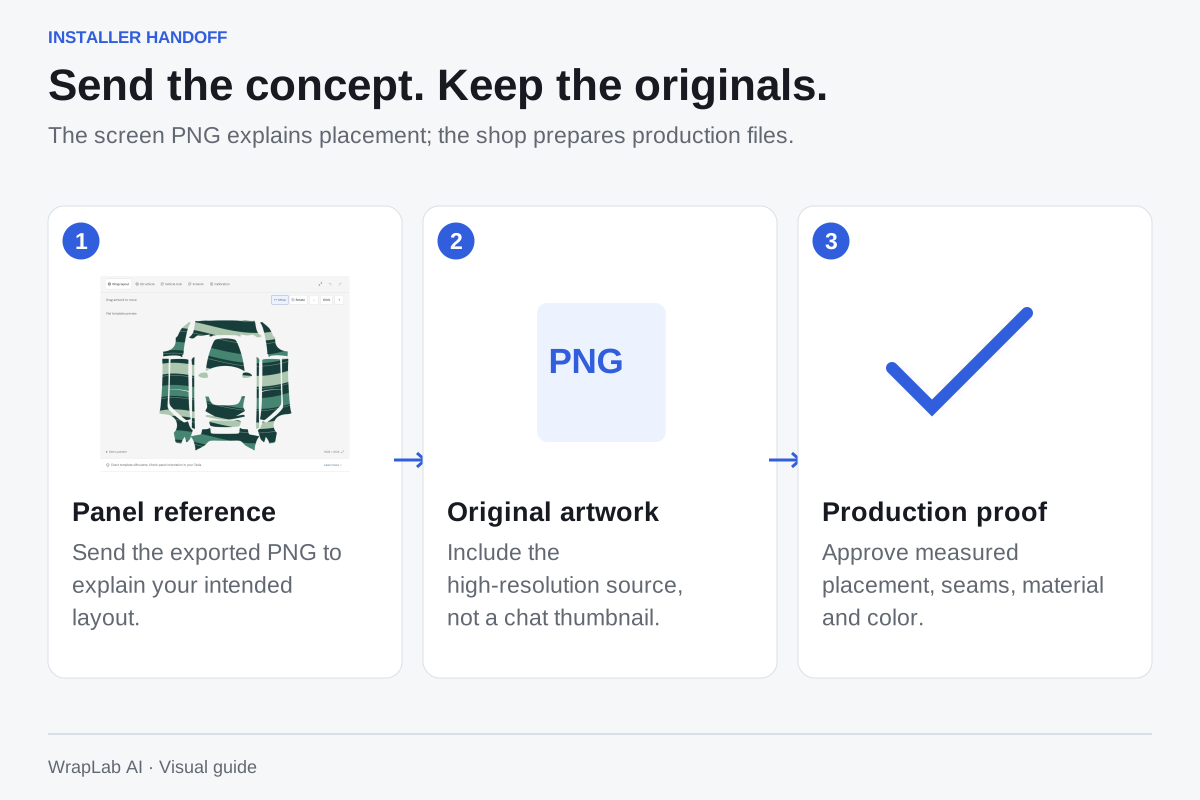
Send the concept. Keep the originals.. The screen PNG explains placement; the shop prepares production files. 1. Panel reference: Send the exported PNG to explain your intended layout. 2. Original artwork: Include the high-resolution source, not a chat thumbnail. 3. Production proof: Approve measured placement, seams, material and color.

Bring a clear design brief to your installer

Turn an on-screen idea into a useful conversation about a physical wrap.
2 min read
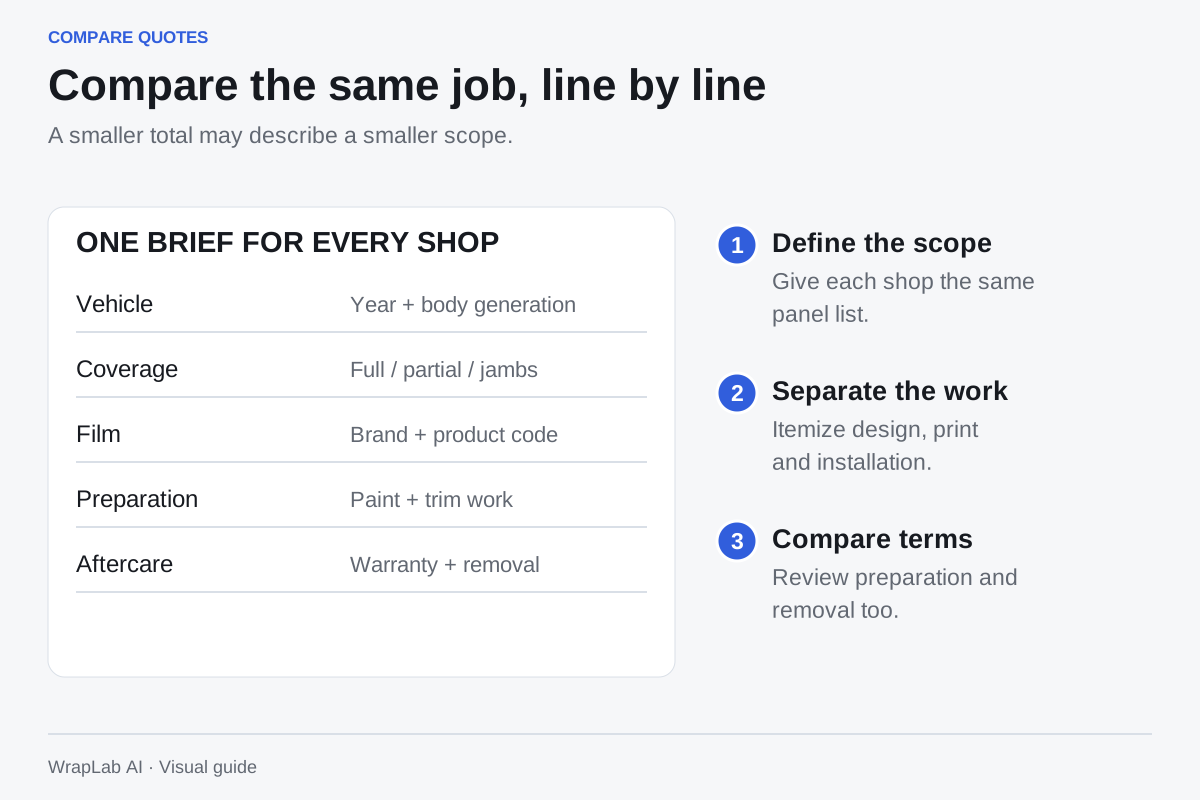
Compare the same job, line by line. A smaller total may describe a smaller scope. 1. Define the scope: Give each shop the same panel list. 2. Separate the work: Itemize design, print and installation. 3. Compare terms: Review preparation and removal too.

Compare physical wrap quotes with confidence

Look at the scope and material before comparing the final price.
2 min read
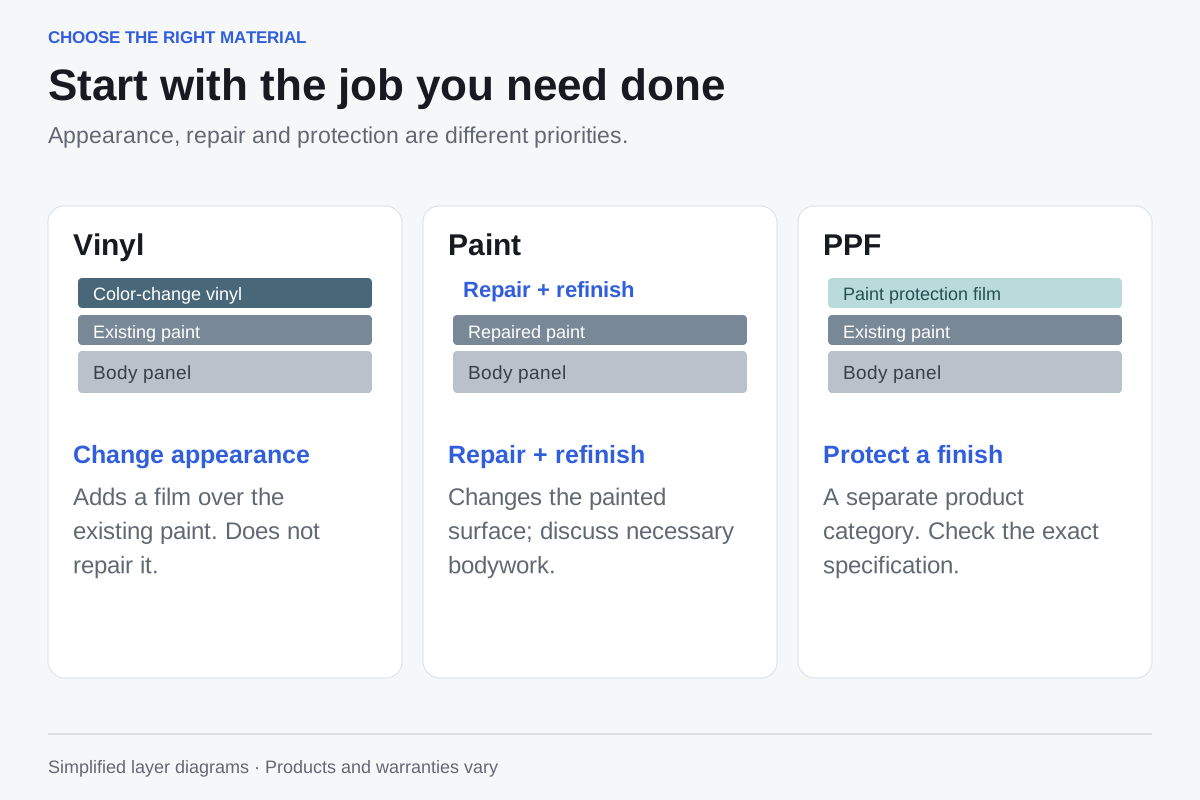
Start with the job you need done. Appearance, repair and protection are different priorities. Vinyl: Adds a film over the existing paint. Does not repair it. Paint: Changes the painted surface; discuss necessary bodywork. PPF: A separate product category. Check the exact specification.

Color-change vinyl, paint or PPF?

Choose the job you need done: a new appearance, a repair or additional paint protection.
2 min read
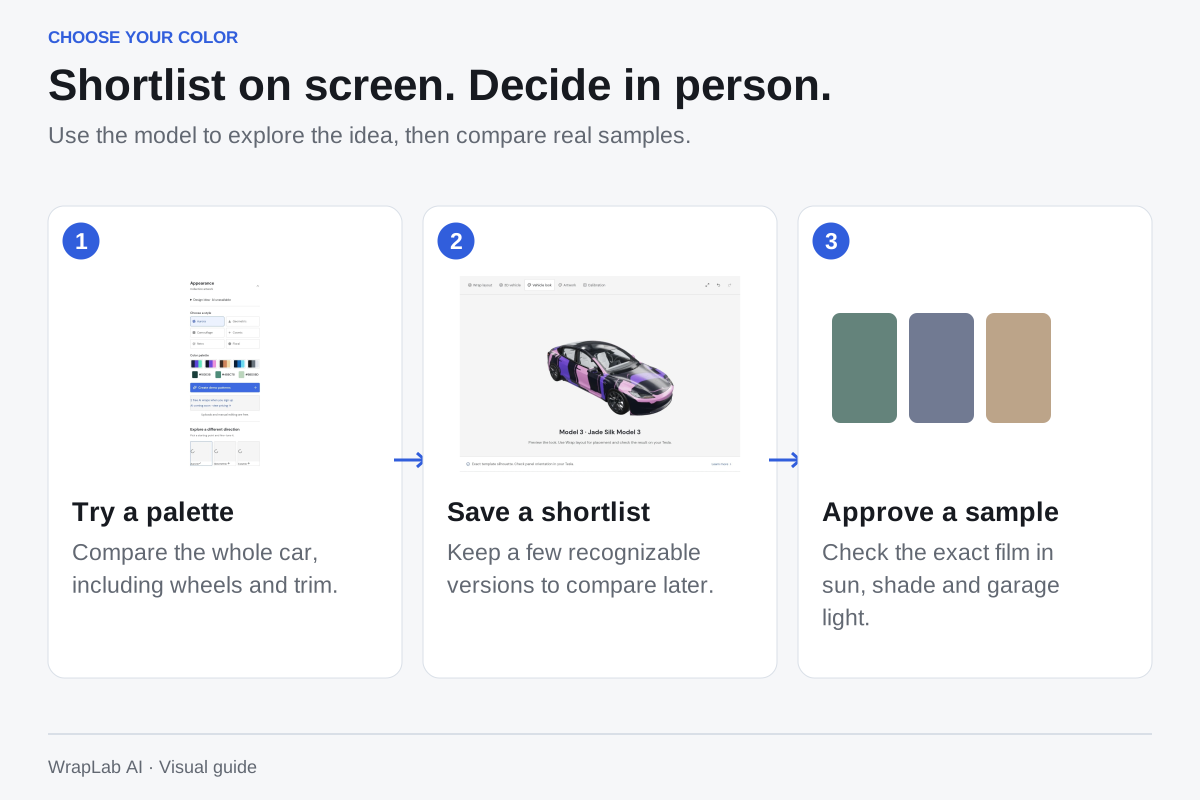
Shortlist on screen. Decide in person.. Use the model to explore the idea, then compare real samples. 1. Try a palette: Compare the whole car, including wheels and trim. 2. Save a shortlist: Keep a few recognizable versions to compare later. 3. Approve a sample: Check the exact film in sun, shade and garage light.

Choose a wrap color you will enjoy every day

Use the studio to narrow your ideas, then make the final choice with real samples.
2 min read
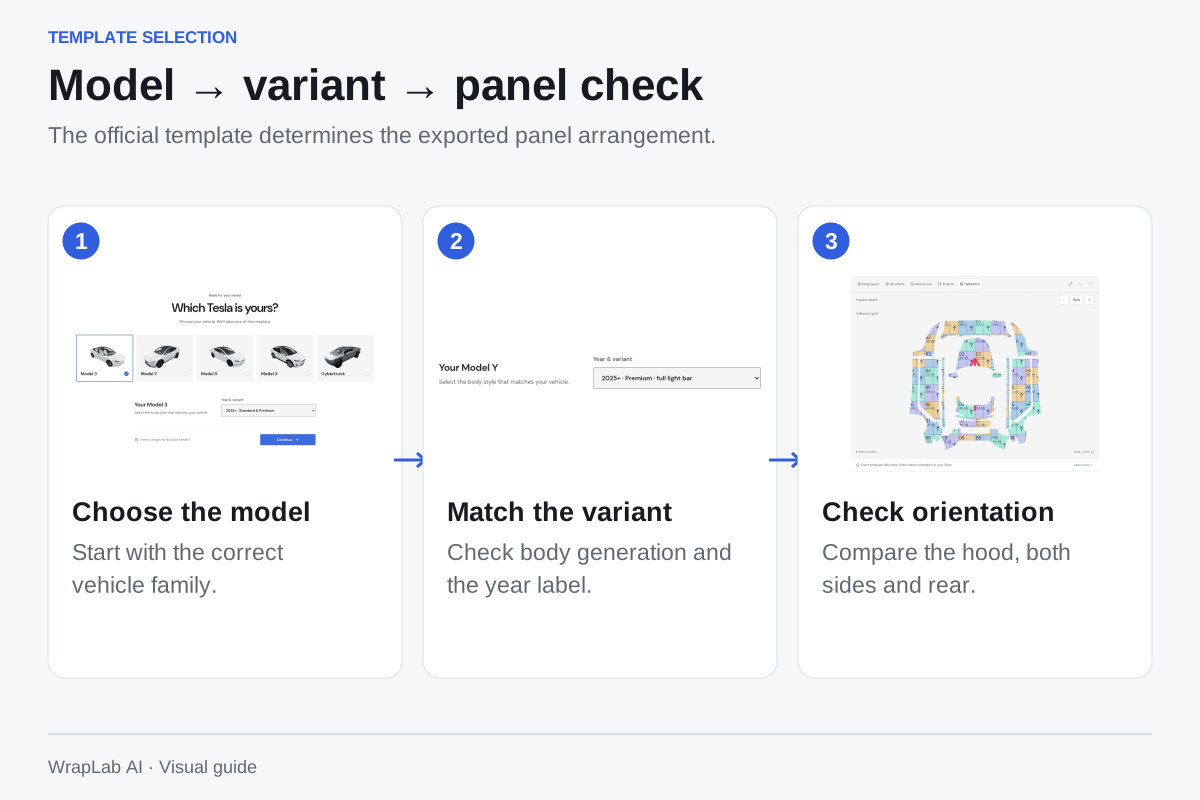
Model → variant → panel check. The official template determines the exported panel arrangement. 1. Choose the model: Start with the correct vehicle family. 2. Match the variant: Check body generation and the year label. 3. Check orientation: Compare the hood, both sides and rear.

Choose the right Tesla wrap template

Your body generation and variant determine where artwork lands on the touchscreen car.
2 min read
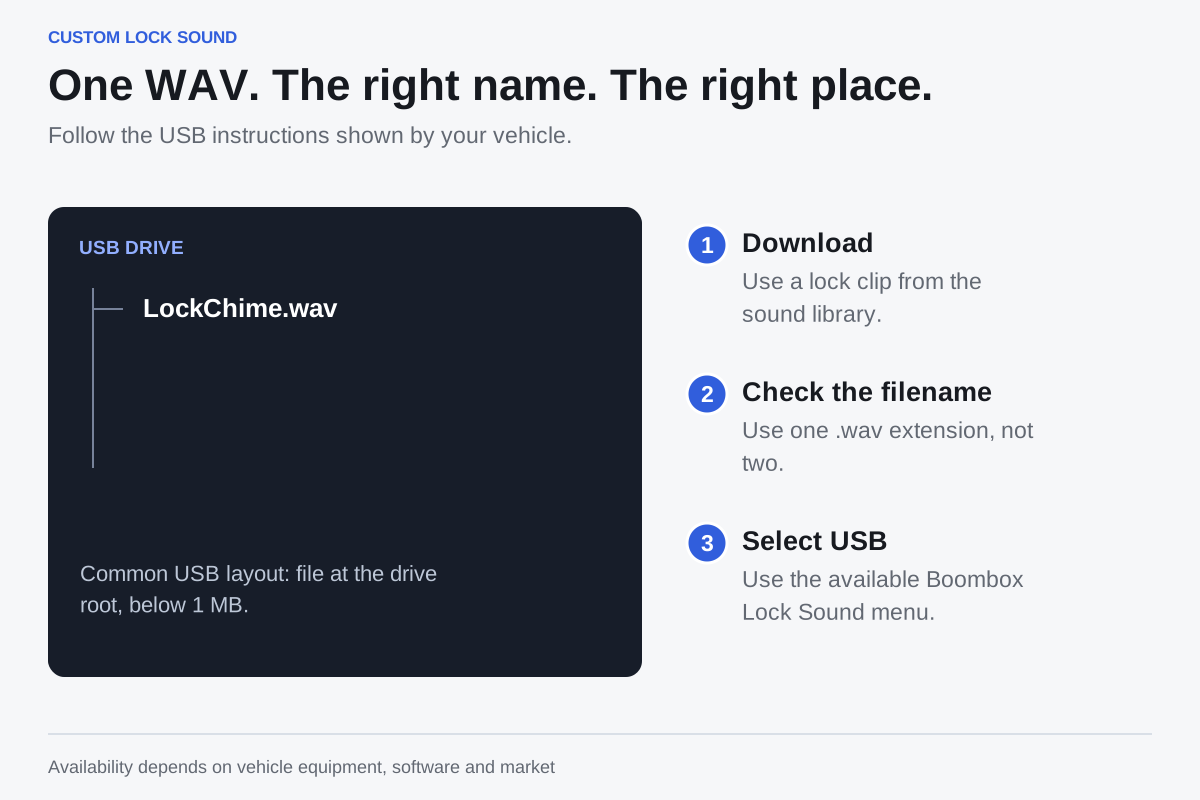
One WAV. The right name. The right place.. Follow the USB instructions shown by your vehicle. 1. Download: Use a lock clip from the sound library. 2. Check the filename: Use one .wav extension, not two. 3. Select USB: Use the available Boombox Lock Sound menu.

Set up your custom Tesla lock sound

Choose a short sound, download the WAV and follow your vehicle’s USB instructions.
2 min read
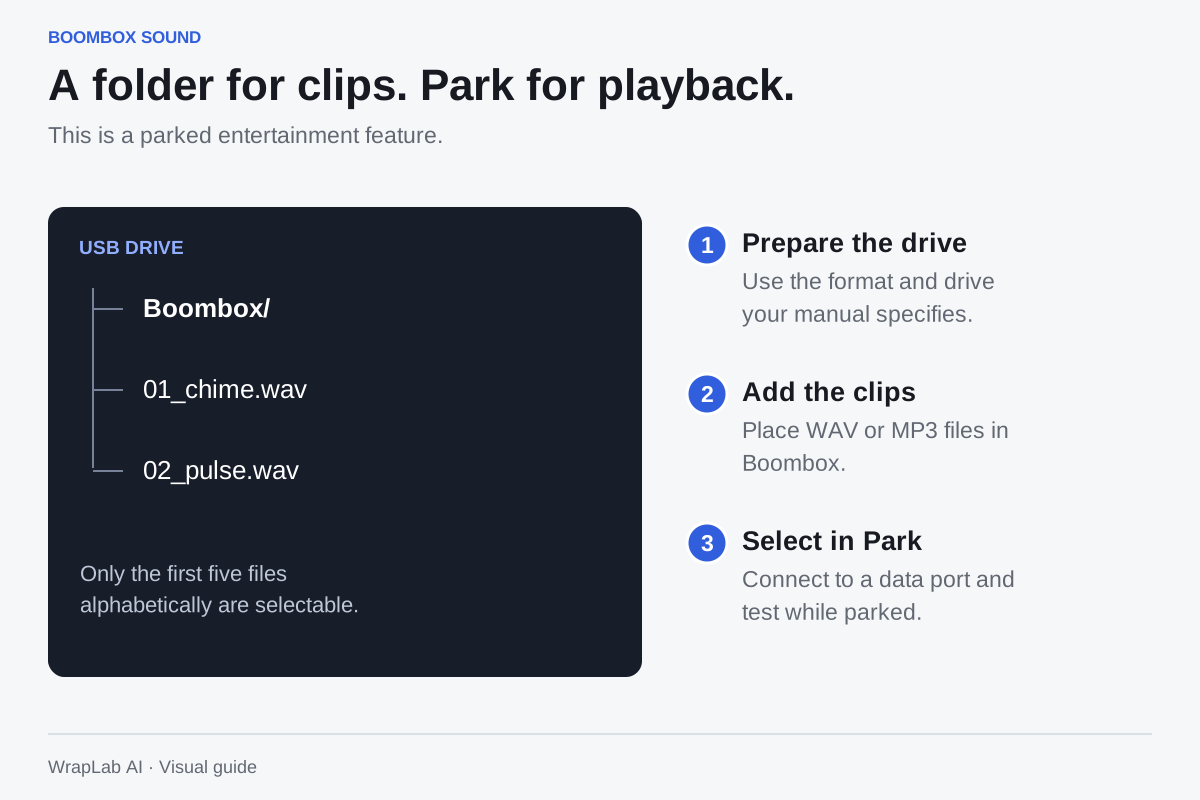
A folder for clips. Park for playback.. This is a parked entertainment feature. 1. Prepare the drive: Use the format and drive your manual specifies. 2. Add the clips: Place WAV or MP3 files in Boombox. 3. Select in Park: Connect to a data port and test while parked.

Try a custom Boombox horn sound

A playful sound for the external speaker while parked, using Tesla’s Boombox feature.
2 min read
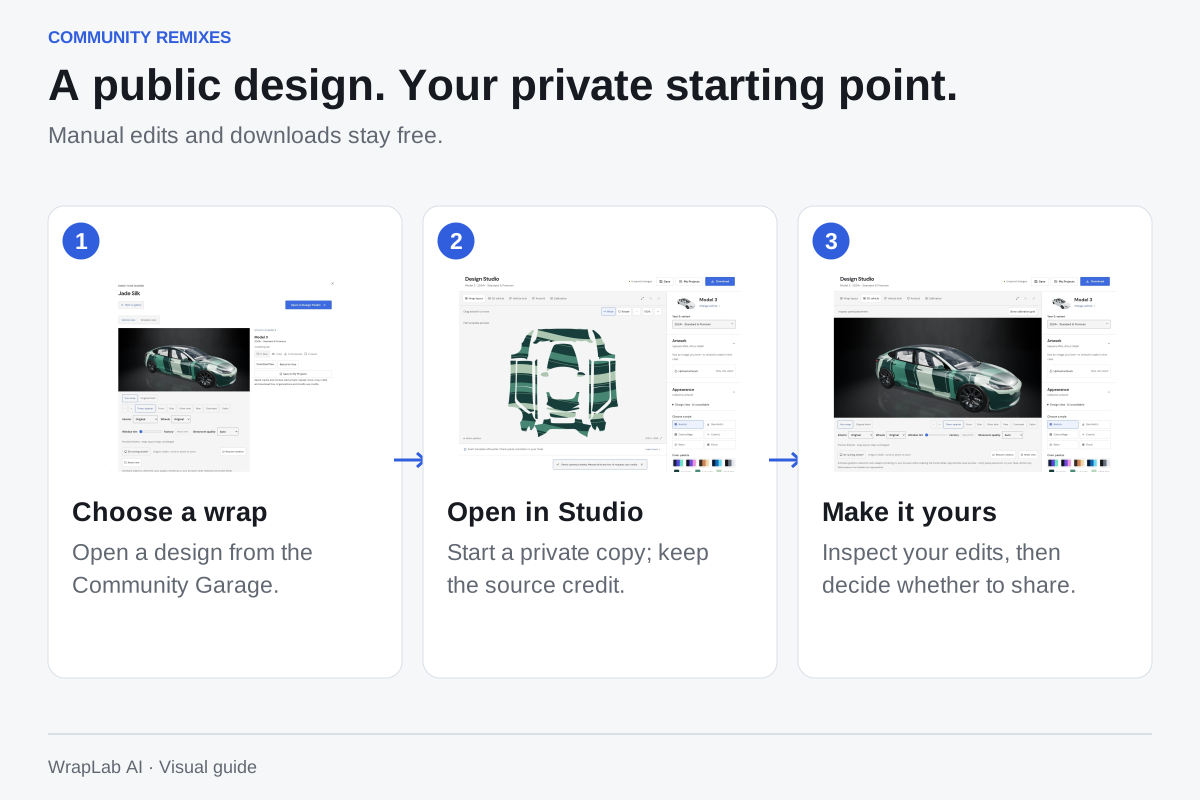
A public design. Your private starting point.. Manual edits and downloads stay free. 1. Choose a wrap: Open a design from the Community Garage. 2. Open in Studio: Start a private copy; keep the source credit. 3. Make it yours: Inspect your edits, then decide whether to share.

Find a wrap. Make it your own.

Discover public designs, save favorites and build a private remix without using AI credits.
2 min read
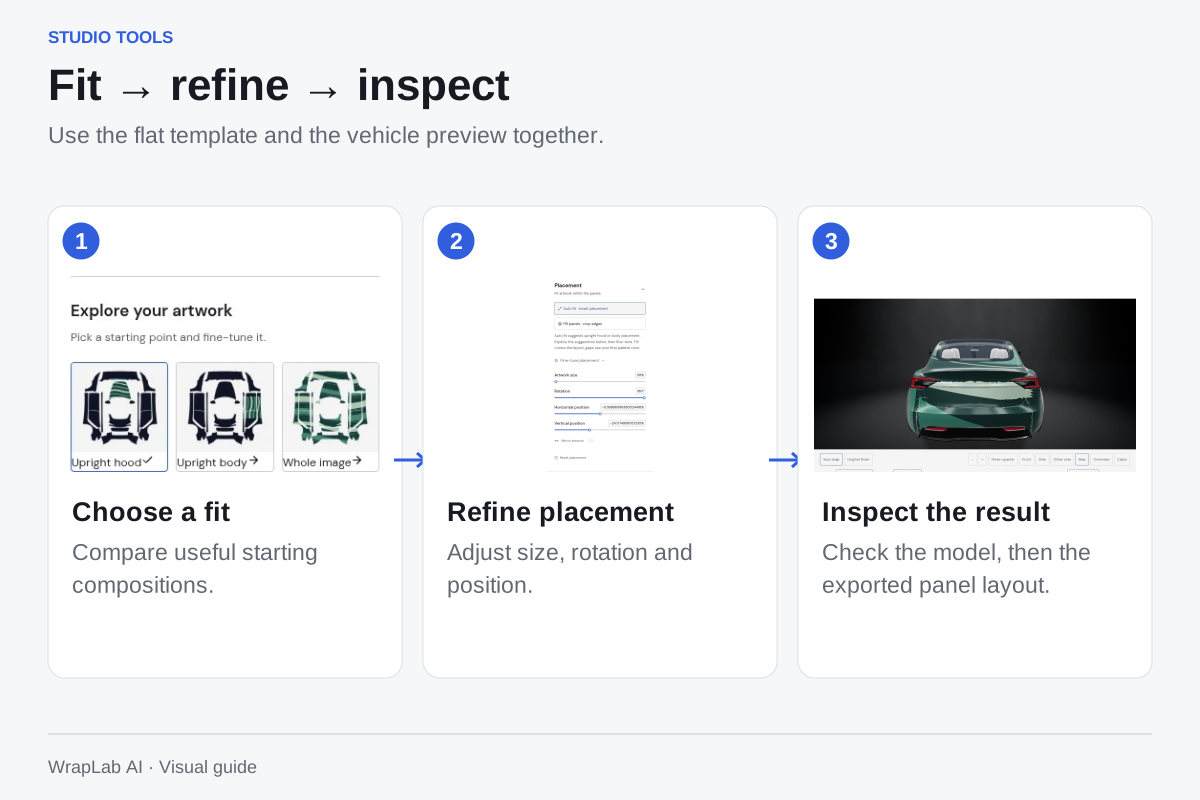
Fit → refine → inspect. Use the flat template and the vehicle preview together. 1. Choose a fit: Compare useful starting compositions. 2. Refine placement: Adjust size, rotation and position. 3. Inspect the result: Check the model, then the exported panel layout.

Small studio tools that make a big difference

Get a better composition with live placement, smart fit and a careful 3D inspection.

2 min read