
The studio export is your concept
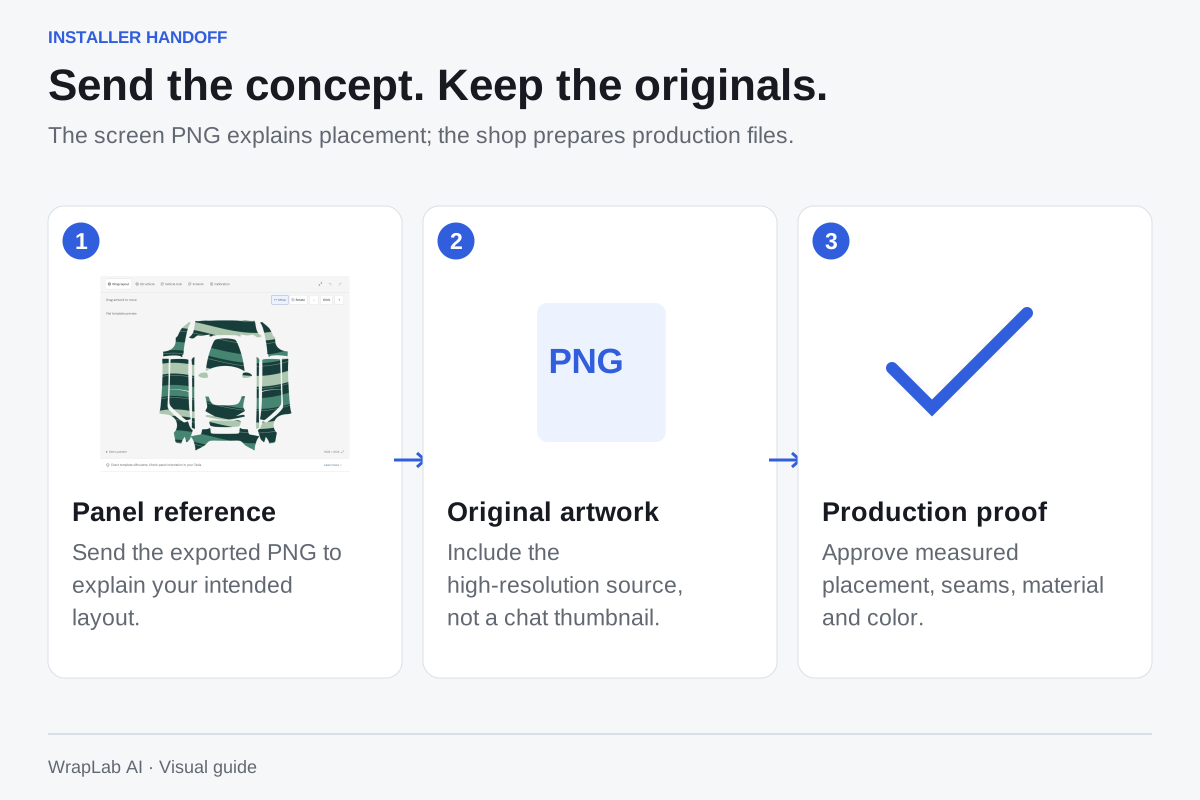
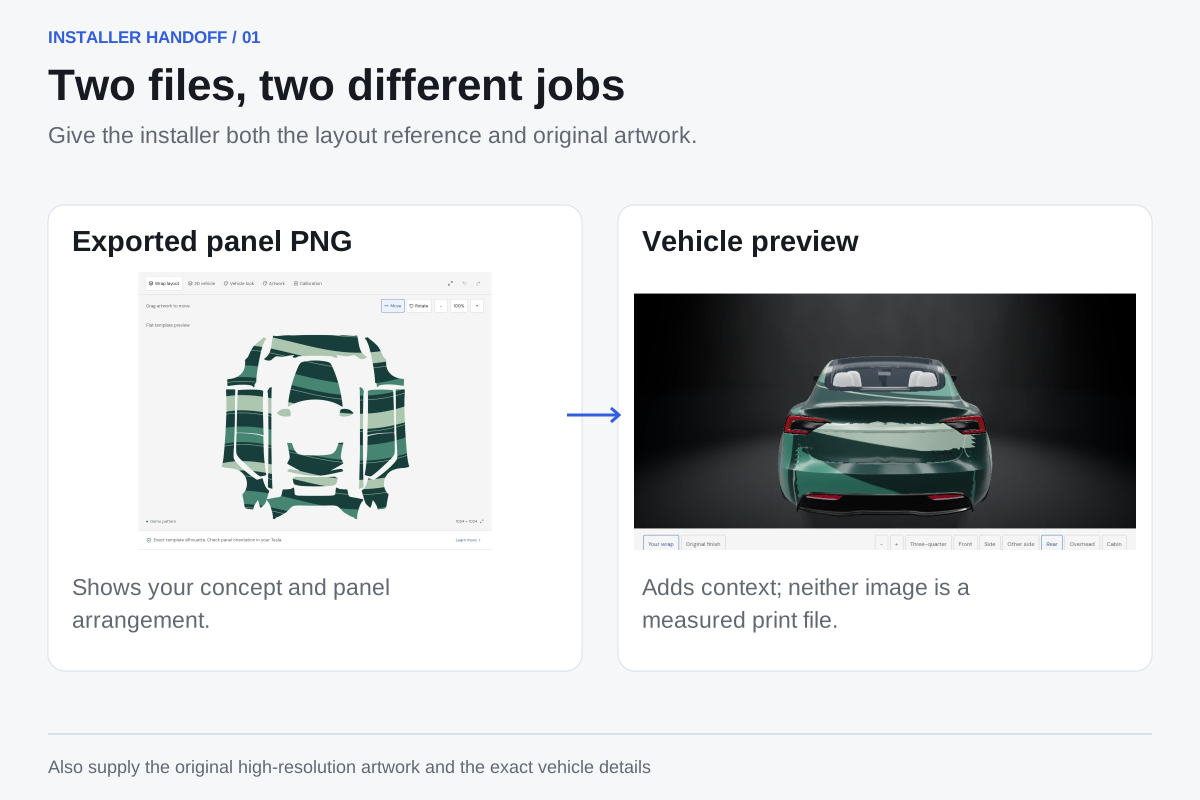
WrapLab AI’s PNG personalizes the touchscreen vehicle. It is not a scaled cutting pattern or a print-ready vinyl production file. A shop must prepare its own measurements, panel layout, bleed, seams and color workflow for your real vehicle.
Build a small handoff package
Give the installer enough information to understand the result you want.
- Send your highest-resolution original artwork and confirm you have permission to reproduce it.
- Include front, rear and side concept views, plus photos of your actual vehicle.
- Write down which elements must stay upright, which panels matter most, and where a seam would interrupt the design.
- Specify the intended film finish and whether you want door jambs or partial coverage.
- Ask the shop to confirm production dimensions, artwork quality and a physical color proof before printing.
Agree on the finished result
Review the proof and itemized quote together. Confirm the material, installation scope, surface preparation, completion inspection, workmanship warranty and removal plan. Screen effects such as a metallic shine need an appropriate real material; a printed image alone does not create that surface finish.
What to send, and what to keep
Send the exported panel PNG as a placement reference, alongside the original artwork. Retain your original files rather than relying on a compressed message attachment. If you send a community design, check the rights of all artwork in it before requesting a physical reproduction; public availability alone does not establish commercial print rights.
Review the production proof panel by panel
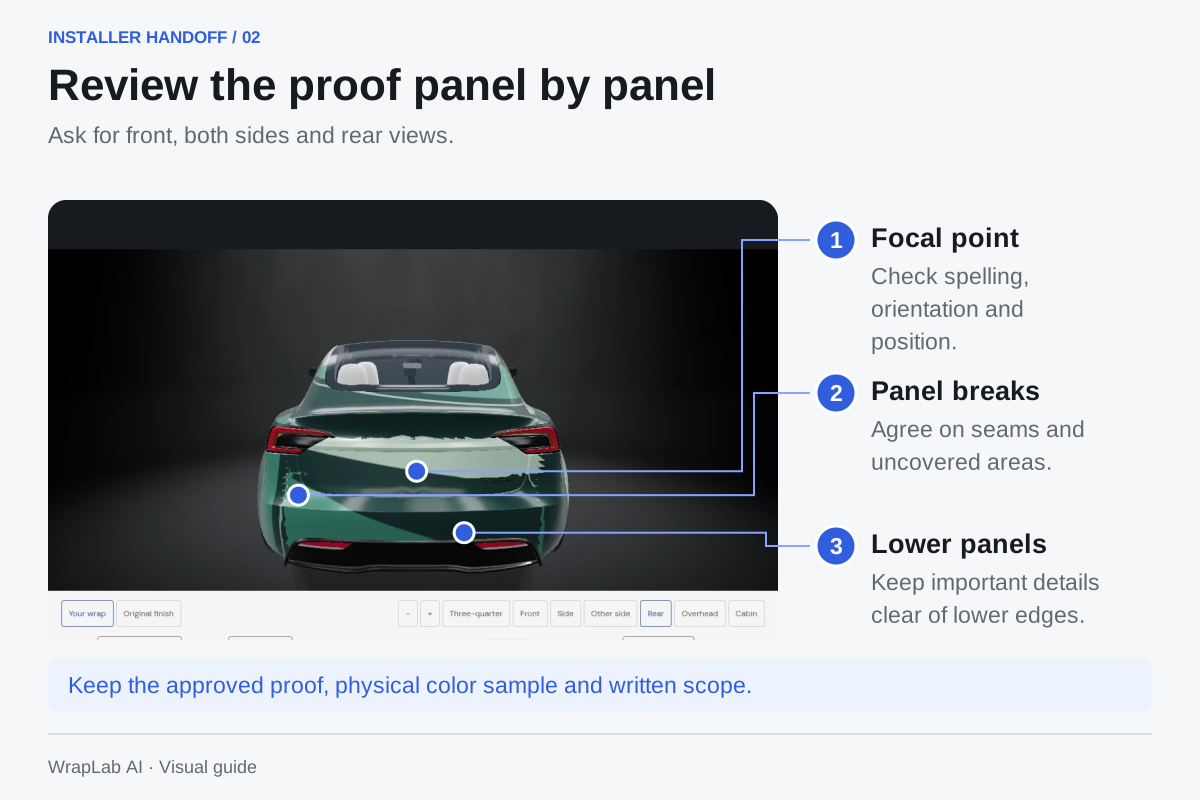
Ask the shop to show the design from the front, both sides and rear. Compare the proof with your intended concept, paying special attention to text, faces and focal points. Decide which changes require your approval if the measured vehicle makes the initial arrangement impractical.
- Check every word for spelling and orientation.
- Mark panel gaps, planned seams and wrapped or unwrapped areas.
- Approve the actual film and color proof.
- Get a copy of the approved production proof and written scope.
Sources & further reading
Check the manufacturer’s instructions for your vehicle or exact film before installation.
Avery Dennison physical film finishes and samples ↗See the idea before you commit.
Free uploads and manual editing. Keep your PNG for the screen and your original artwork for the installer.
Create your wrap