
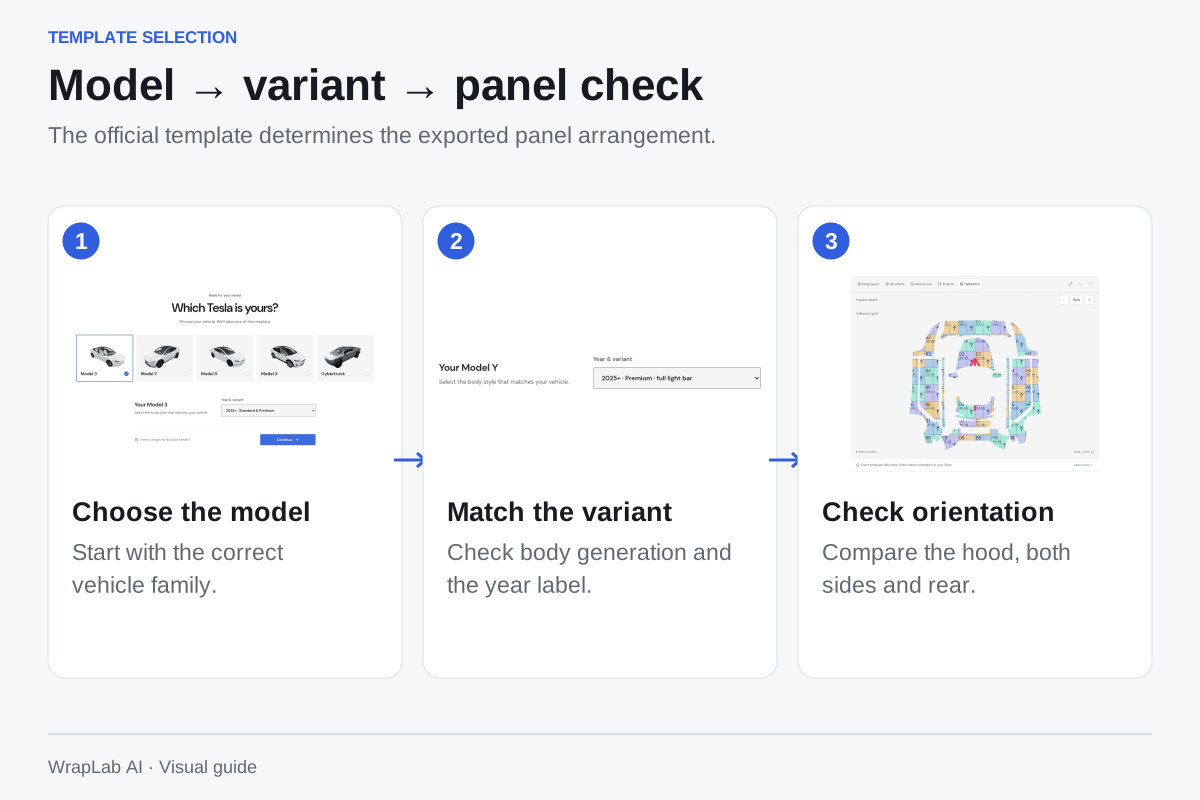
Choose the vehicle first
Use the model cards, then select the matching year and variant. Similar-looking vehicles can have different panel layouts. The selected official template determines the exported file; a shared 3D preview body does not replace it.
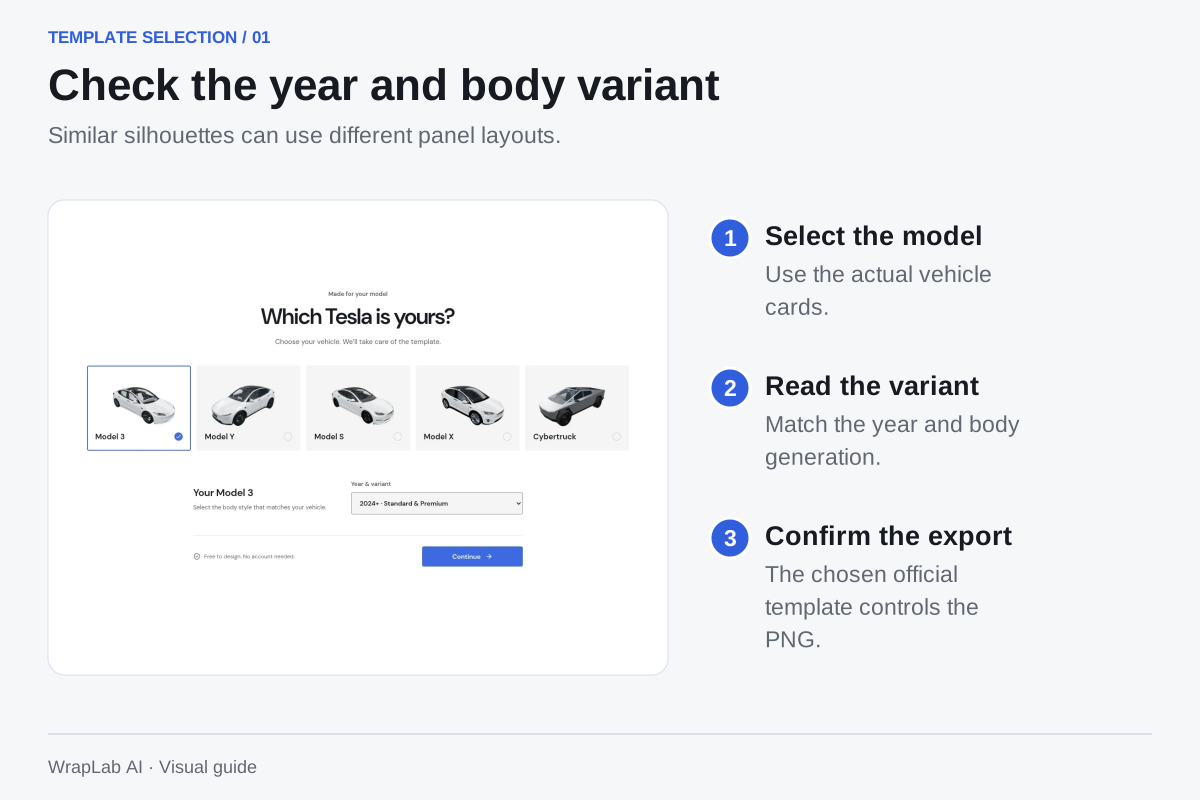
Inspect before downloading
Look at the hood, both sides and rear in the studio. Auto fit offers useful starting compositions; move or rotate a subject if a cutout hides it. A ready-made template should keep its panel alignment. Use calibration to check orientation when something looks unexpected.
Confirm it in the car
Export a PNG and use Tesla’s supported transfer workflow. Check the result on your vehicle’s screen and return to the studio for placement adjustments when needed.
Troubleshoot scrambled panels
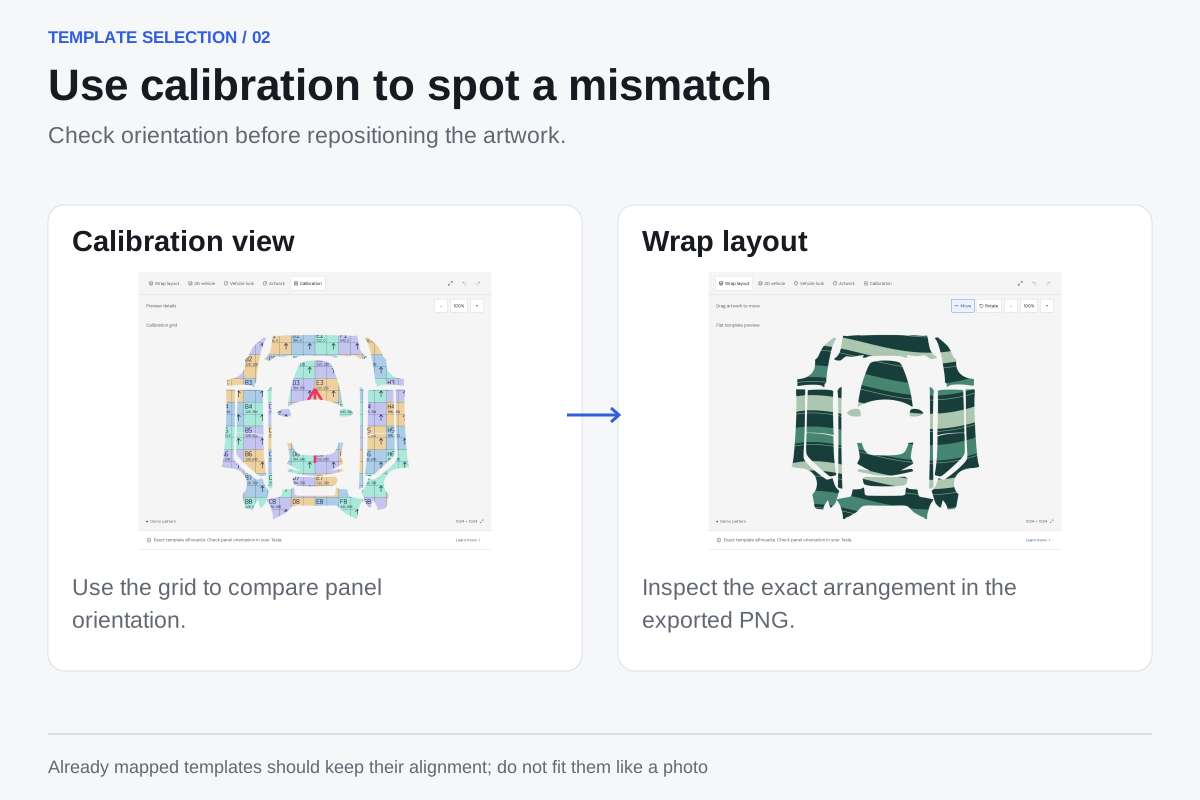
Check the selected variant before changing the artwork. If you upload an already mapped template, preserve its alignment instead of fitting it like an ordinary photograph. Compare the hood and rear in calibration mode; a similar silhouette does not guarantee the same atlas.
- Confirm the vehicle generation and variant label.
- Switch to Wrap layout to inspect the exported panel arrangement.
- Use the calibration grid when front and rear seem reversed.
- Export again after changing the template, then inspect it in the car.
Sources & further reading
Check the manufacturer’s instructions for your vehicle or exact film before installation.
Tesla official wrap templates ↗See the idea before you commit.
Free uploads and manual editing. Keep your PNG for the screen and your original artwork for the installer.
Create your wrap