
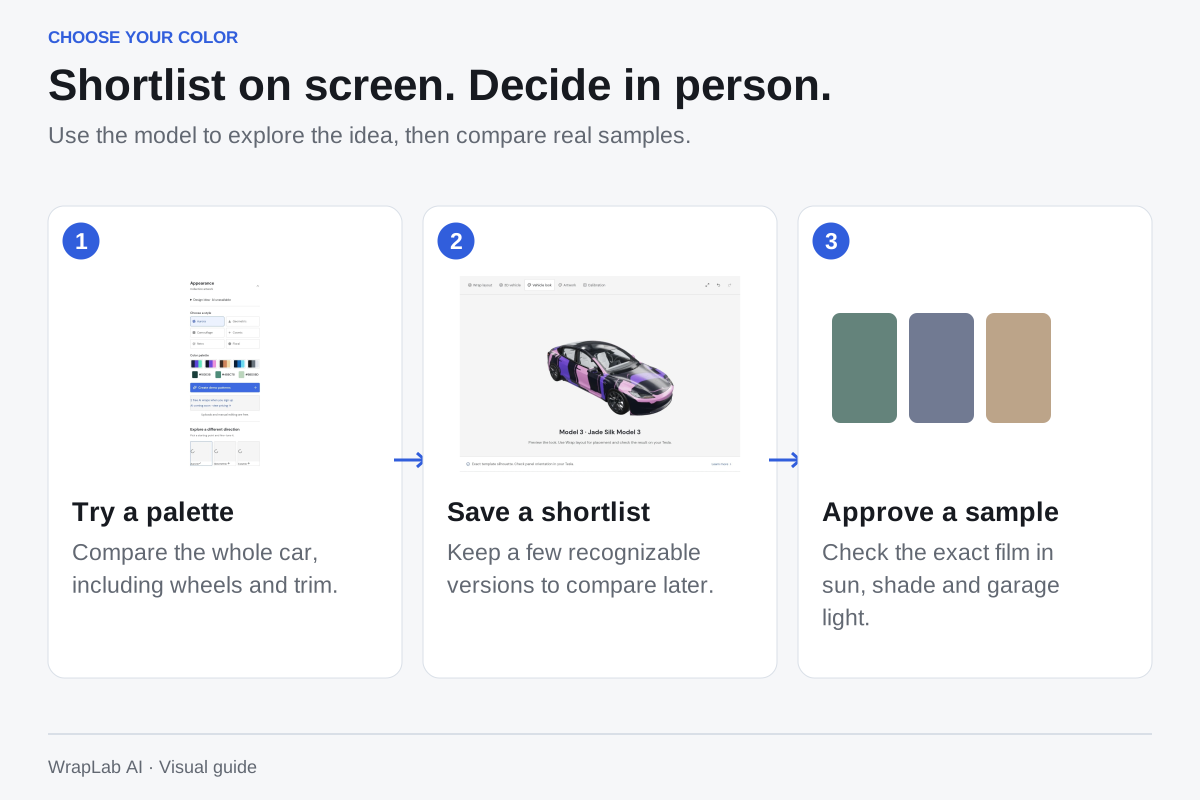
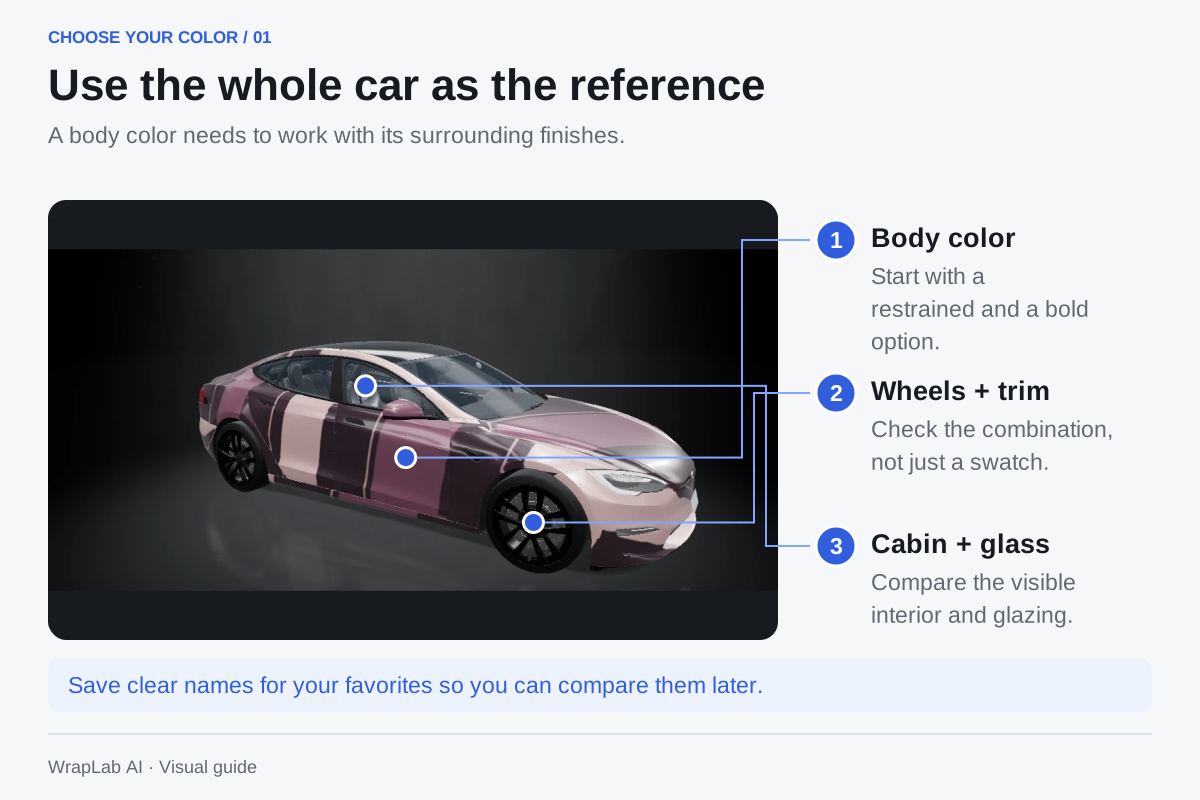
Start with the whole car
Think about the wheels, trim and cabin rather than a color in isolation. Try a few restrained palettes and one bold option. Save the designs you like so you can compare them after the first impression wears off.
Move beyond the screen
Ask your installer for samples of the exact film code. Compare them in sun and shade and alongside the vehicle. Manufacturer imagery is a digital approximation; viewing angle and lighting can change how the actual finish appears.
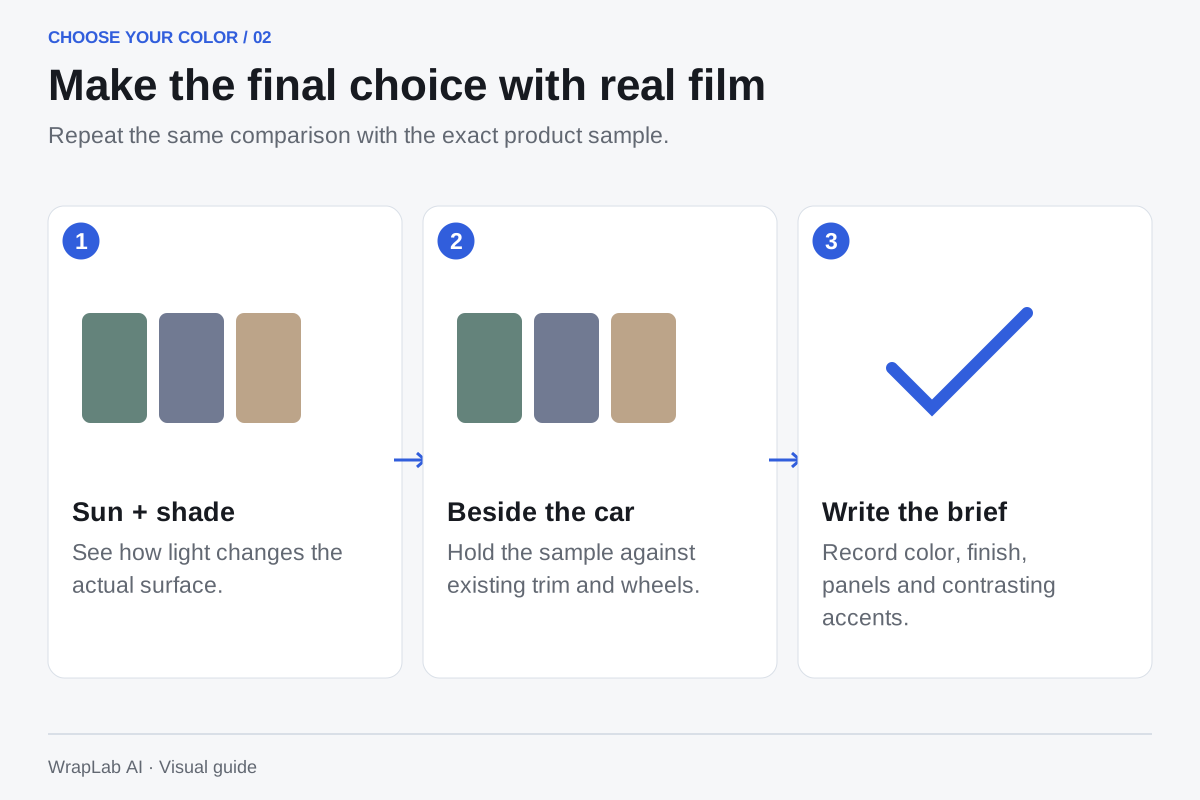
Make a short brief
Write down your preferred color, finish, panels and any contrasting accents. Ask whether the shop has an installed example you can see. Approve the actual sample and production proof before committing to physical work.
Give the shortlist a second look
Leave a day or two between narrowing your ideas and deciding. Compare the same few candidates instead of adding more every time. Use the studio to check where accents land, then use the physical samples to judge the actual sheen. A color can be right while a placement still needs work.
- Save recognizable project names for your favorites.
- Inspect the front, both sides and rear.
- Choose one priority: subtle, bright, detailed or easy to match.
- Bring the shortlist and samples to the installer consultation.
Sources & further reading
Check the manufacturer’s instructions for your vehicle or exact film before installation.
Avery Dennison: compare digital colors with real swatches ↗See the idea before you commit.
Free uploads and manual editing. Keep your PNG for the screen and your original artwork for the installer.
Create your wrap